Thursday, September 29, 2011

Sweet Potato and Black Bean Empanadas

Who started the ugly rumor that vegetarian fare is boring? Maybe they were force-fed unseasoned, monochromatic meals or a litany of canned bland "vegetables". I'm here to politely, but strenuously disagree!

While I will admit that cooking vegetarian meals can be time consuming in the preparation stage, to me, such meals are full of color, flavor, and texture. You can also find shortcuts that don't sacrifice taste.

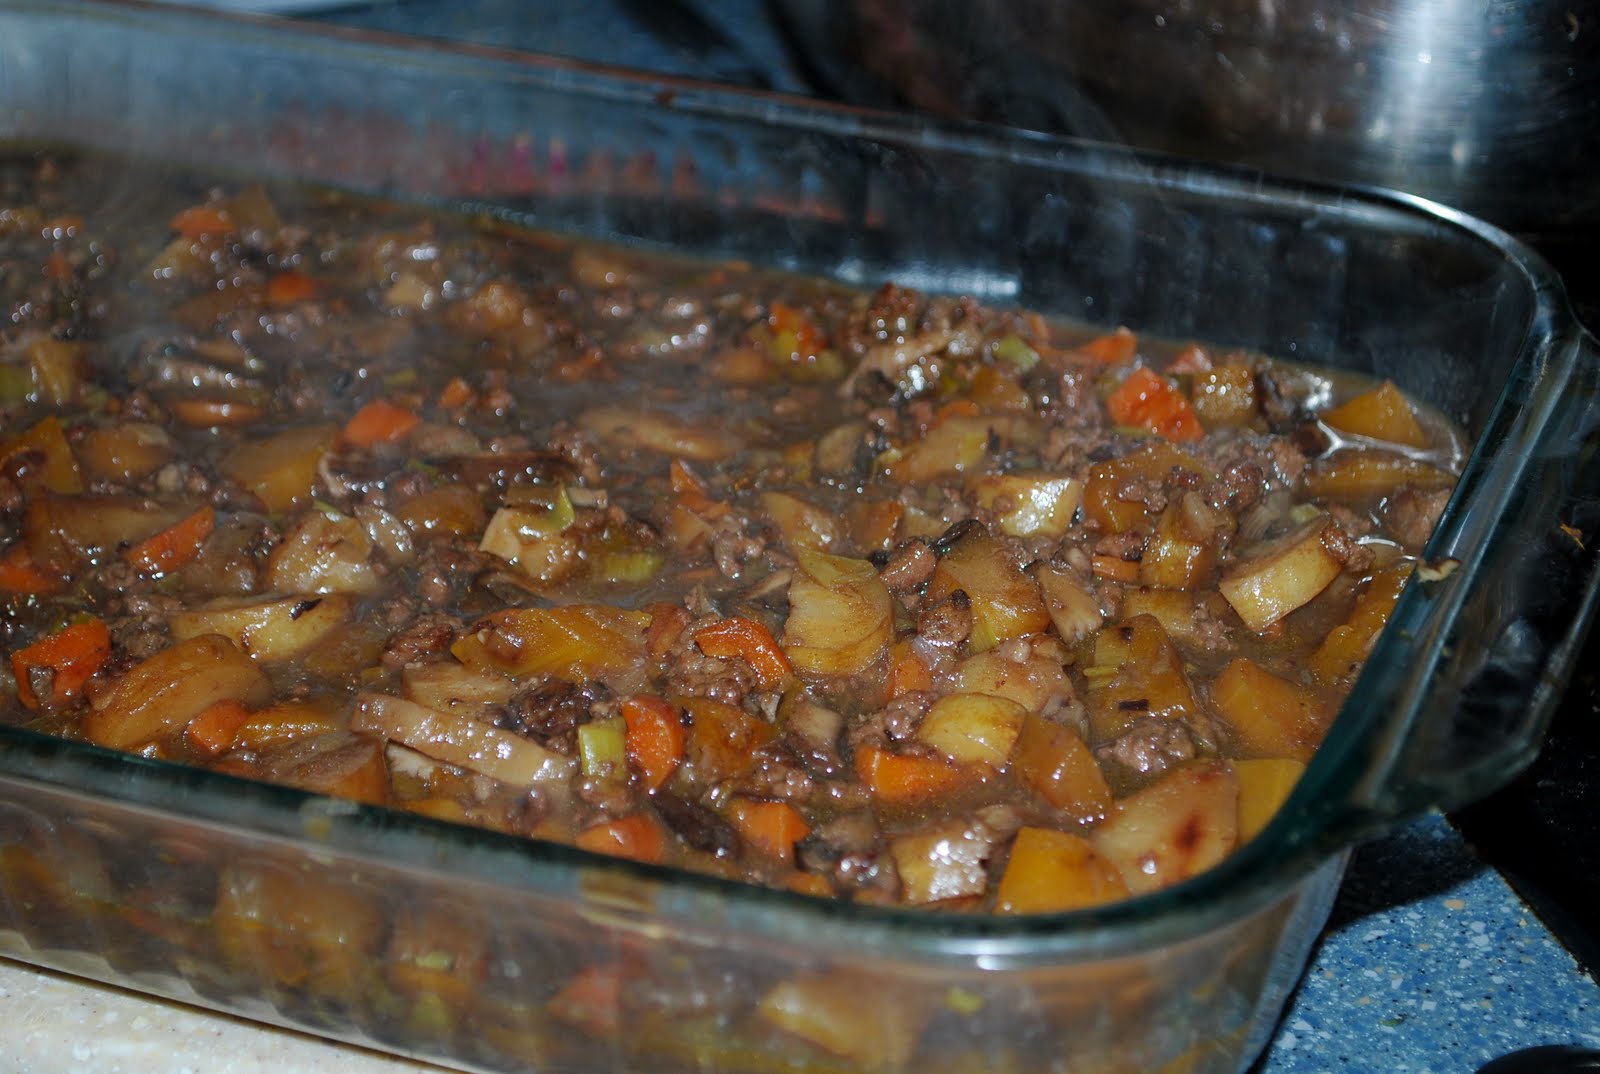
Sunday we went to a music show in Waverly, which doubled as a pot luck supper. I brought a pot of spicy baked beans with meat and the sweet potato empanadas, hoping to satisfy both carnivores and herbivores! Empanadas are perfect fare for parties and outdoor picnics because they are so portable and easy to eat.

Their portability wasn't the only reason I chose to make these crusty pockets of flavor. When I stepped into the garden, I found that my poblano pepper plant had finally produced a couple of peppers, and I immediately thought of this recipe, which is adapted from Cooking Light. If I had more time Sunday, I would have made my own black beans and pie crust, but I used a time-saver: organic canned black beans and a good quality pre-packaged pie crust. The recipe doesn't make a huge amount. I was able to get a baker's dozen, but the recipe says it makes 10 empanadas. Next time you need finger food, give this a try; I think you'll enjoy them.

Sweet Potato and Black Bean Empanadas

1 poblano chile
1 Tablespoon cumin seeds, toasted
1 large cooked sweet potato, mashed (app. 1 cup)
1 cup black beans, rinsed and mashed
1/3 cup chopped green onion
2 Tablespoons chopped fresh cilantro
2 teaspoons chili powder
1/8 teaspoon cayenne pepper
1/2 teaspoon salt
1 egg, lightly beaten

1. Place poblano on a foil-lined baking sheet; broil 8 minutes or until blackened, turning after 6 minutes. Place in a plastic or paper bag; close tightly and let stand for 15 minutes. Peel skin from chile; cut in half lengthwise. Discard seeds and membranes. Chop finely.

2. Preheat oven to 400 degrees.

3. Cook cumin seeds in a small pan over medium heat 1 minute or until toasted, stirring constantly. Place cumin in a clean spice grinder, coffee grinder, or mortar and pestle; process/grind until ground. Combine cumin, poblano, sweet potato (which I baked in the oven earlier), and next 6 ingredients (through salt).

4. Turn out pie crust onto a lightly floured board and smooth out. Cut one (5-inch) circle at a time, covering remaining dough to keep from drying. I used a glass pyrex bowl about 4.5 inches in diameter. Spoon about 3 tablespoons of poblano mixture into center of each circle. Moisten edge of dough with egg; fold dough over filling. Press edges together to seal. Place empanadas on a large baking sheet coated with cooking spray. Cut 3 diagonal slits across top of each empanada. Bake at 400 degrees for about 16 minutes or until lightly browned.

Voila! Portable pockets of deliciousness!

Bon appetit!

Sunday, September 25, 2011

Let's Get Eggy

Any day is a perfect day for making egg dishes, whether for breakfast or for supper. We sometimes eat eggs twice a week, once on Thursday evenings and once on Sunday mornings.

Thursdays we'll look in the refrigerator to see what would be perfect for an omelet. Last week I made great finds in the cheese department of Kroger at Tiger Town. Some really nice cheeses were marked down from $6-8 to $1-3. I grabbed several varieties, one of which found its way into this omelet with prosciutto, shiitake and baby bella mushrooms, and green onion. I choose a Dijon swiss cheese with mustard seed throughout, a perfect tangy, creamy taste to play against the earthy flavors of the mushrooms and the saltiness of the prosciutto. Top with a few bits of green onion, and there's a lovely little crunch to add texture.

The other variation on the theme I would like to share today is a poached egg dish. Now, I've poached eggs old school (here's an example) with just a pan of hot, barely simmering water. You always want to add about one tablespoon of vinegar to help the whites coagulate; and you want the freshest possible eggs, or you'll end up with spider-web threads of egg white. Don't worry, you won't taste the vinegar.

The recipe I made today calls for poaching the egg inside of a ramekin, and I think you could easily make a variety of substitutions in the recipe to accommodate different tastes or to accommodate what's available in your refrigerator or pantry. Now, you obviously don't want to use old eggs, but having the freshest eggs possible isn't as important if you're poaching in a form. You won't need vinegar, either.

I'll share my version of the recipe, which came from Epicurious.com, Skillet Poached Eggs with Prosciutto. There's the link so you can make it their way. I adapted the recipe because I was lacking two ingredients and making two servings instead of four.

Skillet Poached Eggs with Prosciutto

1/2 cup finely chopped green onion tops
1/4 cup extra-virgin olive oil
1/4 cup minced fresh Italian parsley
1/2 teaspoon coarse salt

3 English muffin halves, toasted
3 thin slices prosciutto

3 large eggs

1. Finely chop the green onion tops and combine with olive oil, minced Italian parsley, and salt in a small bowl (can be prepared 3 hours ahead. Let stand at room temperature.)
2. Toast English muffin halves. Spread each half with 1 tablespoon green onion oil mixture.
3. Divide remaining green onion oil mixture equally among three 1 1/4-cup custard cups or ramekins, reserving a little to brush on top of poached eggs. Using a pastry brush, spread green onion oil mixture over inside of each cup to coat (most of mixture will fall back to the bottom of the cup. Put one slice of prosciutto in the bottom of each cup and place egg on top, being careful not to break the yolk when you crack it. Place cups in a large skillet. Pour enough water into skillet to reach halfway up the sides of the ramekins.
4. Set skillet over medium-high heat and bring water to simmer. Reduce heat to medium-low and gently cook eggs until whites are just firm to touch and yolks are set to desired consistency.
5. Using a spatula and oven mitt or hand towel as aids, lift cups with eggs from water. Cut around eggs to loosen. Turn 1 egg with prosciutto out onto each prepared bread slice and brush the top with green onion oil mixture and freshly ground pepper.

I've made something similar using bacon and spinach, but rather than poaching the eggs, I baked them in a 400 degree oven with the toast/muffin round in the bottom of the ramekin.

Bon appetit!

Friday, September 23, 2011

Smitten with a French Chef

I confess: I'm in love with Julia Child (1912-2004). I had read Julie and Julia by Julie Powell last year, but I wasn't really in love with her then. I did put the DVD series The French Chef on my Netflix cue, but I didn't start watching them until this year.

A week or so ago, I pulled My Life in France by Julia Child from the bookshelf and started reading, and it is this book that made me fall in love with this larger than life woman. Her memoir focuses mainly on her time in France, chronicling the discovery of her passion for food, her lessons at Le Cordon Bleu in Paris and her collaboration with two Frenchwomen on Mastering the Art of French Cooking, Vol. 1 and 2. She also writes about the beginning and rise of her television show The French Chef and concludes with her writing From Julia Child's Kitchen (which I'm currently following in eBay), which has recipes and stories.

At first, I was disappointed that the book didn't include a variety of recipes. That disappointment didn't last long because it's a truly fun read. Yes, there is a lot of writing about cooking and food, but it is also a love story. There are pictures of Julia and her husband Paul; the book is about life with Paul nearly as much as it is about her life as a chef and writer. In reading the book, you get a sense of her passion for life and how she completely threw herself into every aspect of food and cooking. She writes of how she meticulously researched ingredients and techniques and how she tried recipes out sometimes 15 times before she was satisfied they were good enough to include in Masting the Art of French Cooking, which is why I had to order it. I have purchased volume 1, and I'm watching volume 2 on eBay, hoping to find a copy at a good price. Because of her meticulous nature, the books are not only about recipes but also about the how and why of a recipe: how ingredients work together, why some techniques are used in some recipes and other techniques are used in other recipes. I get the sense she might have been an early Alton Brown.

Once I acquire both volumes, I'm throwing away The Joy of Cooking. I've never really liked it, and I have found the text rather boring. If Julia's cookbooks are written in the style and voice of her memoir, I expect them to be engaging, entertaining, and informative.

If you're curious about her television show, visit the Julia Child section of the PBS videos where several of her shows can be viewed (all are under 30 minutes in length). The video "Spinach Twins" has footage of Simone Beck, a co-author of the Mastering the Art of French Cooking books, and there is footage of Julia and Paul's home in Provence. If you love cooking, food, France, or a good love story featuring a strong heroine, I encourage you to read My Life in France.

I feel a rant coming on in a future post (I can't be completely rant-free). I invite all readers to comment on this and all posts, as well as also suggest topics you would like to read about.

As always, bon appetit!

Thursday, September 22, 2011

What would Julia Do?

Would Julia ever use a crock pot? I don't think so. I really don't like the crock pot either, though I have a couple recipes that are for the crock pot, and I've bought a couple of cookbooks hoping to find something that isn't the typical crock pot fare. But with the cooler weather, I just had to break out the old thing to make a recipe from my mother.

My mother and grandmother were both solid cooks, albeit not adventurous cooks–well, there was that time mom made chili and dumplings. Ugh! She had a standard litany of recipes: Spam and fried potatoes, fish sticks and macaroni and cheese, spaghetti, meat loaf, pot roast, stuffed peppers, and stuffed cabbage. Later she added enchiladas. My poor girls never knew what might be on the table when supper time came. There were a handful of meals I repeated from time to time, but I was mostly about experimentation. Grandma was a solid meat and potatoes cook, and she had perfected it by the time I came along.

When I first began setting up my household, I bought a crock pot for this one recipe: Hamburger casserole, which is really more like a soup than a casserole. Until last year, it had been years since I made this, in part because I had given up all meat for about 3 years, and red meat for the last 3 years. Joining the meat share at Randle Farms changed that. So, if you need something to cook all day and warm your tummy at night, give this a try.

Hamburger Casserole

2 Large potatoes, sliced
2 med. carrots, sliced
1 parsnip, sliced
1 10-ounce pkg. frozen peas
1/2 onion, sliced
2 stalks celery, sliced
1 lb. ground beef, browned and drained
1 can tomato soup
1/2 can water

Place layers of vegetables in order given in crock pot. Season each layer with salt and ground pepper. Put the lightly browned beef on top of the celery. Mix soup with water and pour into crock pot. Cover and cook on low 6 to 8 hours. (High 3 to 4 hours, stirring occasionally).

Bon appetit!

Wednesday, September 21, 2011

Scones Anyone?

I really don't remember when I first started making scones, but I always associate them with the little girl–now a young woman–who grew up two doors away and was a friend of our youngest daughter. Bri would burst through the door after school, walk over to the pantry first and the refrigerator second to see what might be available for a snack. I never minded because to me, she was like one of my own. If there were ever scones in the house, that was her preference.

Bri grew up, as children are apt to do, and went away to college; she just graduated this summer. While away, she would send notice that she would be home for the holidays or for the summer, and she wanted scones. She still loves them. Bri told me the scones came in handy this past Christmas when she was stranded at the airport trying to get back to school. They eased the pain of flight delay.

These are incredibly easy to make (so I'm sure my husband wonders why I don't make them more often). Similar to a buttermilk biscuit, they are the perfect canvas for dried fruits and nuts. I use a basic recipe and vary it slightly to accommodate the dried fruit I have on hand. A recipe is fairly small, making only about 10 at a time, but they are gone in a flash.

I've had this recipe for so long, I don't know where to give proper credit. Enjoy!

Buttermilk Scones

3 cups unbleached, all-purpose flour
1/3 cup sugar
3 Tablespoons baking powder
1/2 teaspoon baking soda
1/2 teaspoon salt
2/3 cup chilled butter, cut into pieces
1 cup buttermilk
1 Tablespoon orange or lemon zest
additional melted butter for brushing scone tops
1/2 cup dried fruit

1. Preheat oven to 400 degrees, placing rack in the center of the oven.
2. In a medium bowl, stir together flour, baking powder, soda, salt, and sugar.
3. Drop in pats of cold butter and blend using either your fingers or a pastry blender until the mixture looks like coarse meal.
4. Add dried fruit and zest, and pour in the buttermilk. I tend to use lemon zest with dried blueberries and orange zest–if I have an orange–with dried cranberries. Stir with a wooden spoon until the mix is moistened. Don't over do it, or you'll have tough scones. The dough should be soft.
5. Turn dough out onto a lightly floured surface and knead briefly–no more than a dozen turns should do.
6. With a rolling pin, roll into about a 3/4-inch round 7-8 inches in diameter and slice into wedges. I usually do about 10-12.
7. Place on a baking sheet and bake for about 15 minutes. I usually set the timer for about 13 minutes and check them. When they're a nice golden brown, they're ready to set onto you cooling rack for as long as you resist the temptation to eat them!

You can dust them with sugar or make a glaze, but I don't bother with that as they are wonderful all on their own.

Bon appetit!

Tuesday, September 20, 2011

Spiked Banana Bread

I rarely bake these days because all I can think of are calories. My friend Deli, who loves to bake, is much more generous than I; she bakes for the love of baking and gives the goods away. So, when two sets of uneaten bananas turned brown–well, one was brown and one was black–I decided it was time to make banana bread. Anthony was thrilled.

Years ago I made a recipe that was oh, so good for you: wheat flour, wheat germ–lots of fiber. Then one day, a new Cooking Light magazine came in the mail with a picture of Jamaican Banana Bread on the cover, and the cover girl and I have been fast friends ever since. This is the only banana bread I will ever make–and I feel confident saying "ever ". I think that once you try it, you'll make this your go-to banana bread recipe.


Jamaican Banana Bread

2 Tablespoons butter, softened
2 Tablespoons soft cream cheese
1 cup granulated sugar
1 large egg
2 cups plain, unbleached flour
2 teaspoons baking powder
1/2 teaspoon baking soda
1/8 teaspoon salt
1 cup mashed ripe bananas (~ 3)
1/2 cup milk
2 Tablespoons dark rum
1/2 teaspoon grated lime rind
2 teaspoons fresh lime juice
1 teaspoon vanilla extract
1/4 cup chopped pecans, toasted
1/4 cup flaked sweetened coconut

Topping:
1/4 cup packed brown sugar
2 teaspoons butter
2 teaspoons lime juice
2 teaspoons dark rum
2 Tablespoons chopped pecans
2 Tablespoons flaked sweetened coconut

1. Preheat oven to 375 degrees.
2. To prepare bread, beat 2 Tablespoons butter and cream cheese at medium speed of a mixer; add granulated sugar, beating well. Add egg; beat well.
3. Lightly spoon flour into dry measuring cups; level with a knife. Combine flour, baking powder, baking soda and salt. Combine banana and the next 5 ingredients. Add flour mixture to creamed mixture alternately with banana mixture, beginning and ending with flour mixture; mix after each addition. Stir in 1/4 cup pecans and 1/4 cup coconut.
4. Pour batter into an 8x4-inch loaf pan coated with cooking spray. Bake at 375 degrees for one hour. Cool in pan 10 minutes and remove from pan. Cool slightly on a wire rack.
5. To prepare topping, combine brown sugar and 2 teaspoons each butter, lime juice and rum in a saucepan; bring to a simmer. Cook 1 minute, stirring constantly. Remove from heat. Stir in 2 Tablespoons each pecans and coconut; spoon over loaf.

Bon appetit!

Monday, September 19, 2011

Almost Vegetarian Shepherd's Pie

I LOVE the change of seasons. Autumn means we can say good-bye to the stifling, humid, disgusting temperatures of summer and say hello to cool mornings, pleasant days, and warm comfort foods. This week when planning the menu, I consulted weather.com to see just how warm and comfortable I could get with supper. Then, I pointed my browser to epicurious.com and found Vegetarian Shepherd's Pie from Gourmet 2009. Perfect, except for the fact I had 6 butternut squash sitting on the counter and more than 1/2 lb. of opened ground beef from Randle Farms sitting in the fridge. Oh, and a container of rabbit stock I made a couple of months ago. Time to improvise.

I gathered the essential vegetables: shallot, garlic, leek, parsnip, carrot, baby bella and shiitake mushrooms, and a butternut squash weighing just under 1 pound. If you've worked with vegetables, you know prep work can be the most time-consuming aspect of a recipe.

Though I took several liberties with this recipe, I was giddy with excitement when read that I would be making a sauce with a red wine reduction, my delectable rabbit stock, and a beurre manié, which is simply equal parts butter and flour kneaded together to act as a thickening agent in a sauce.

Here I must digress ever so slightly. I've learned a bit about stocks and sauces while reading the culinary text Professional Cooking by Wayne Gisslen, as well as in reading Julia Child's My Life in France and Kathleen Flinn's book The Sharper Your Knife the Less You Cry. Stocks are called fond in French because the French see them as the foundation of any sauce or soup, and an excellent foundation makes for an excellent end product. I began making stock about a year ago so that I wouldn't have to buy the organic broths at about $3.50 a pop; however, I dump all manner of vegetable bits and peels to make my vegetable stock. Ohhhh, but how Julia and the great chefs would gasp–in her book, Julia nearly cries over the loss of a perfect veal stock. I can see now how my haphazard way of making vegetable stock leads to a very unpredictable end result. I'll work on that. Sauces, according to either Child or Flinn, came about to mask otherwise questionable meat. I say all this to preface the fact that my rabbit stock was divine and imparted a most wonderful flavor to this dish.

But, I'm becoming long-winded.

After reducing my wine, adding the broth, and whisking in the beurre manié, I had this beautiful, velvety sauce to simmer my veggies and ground beef in for about 25 minutes. I must say, this was the best gravy or sauce or whatever it is that I've tasted, and I think it can be attributed to a solid fond and the beurre manié.

Unlike most Shepherd's Pie, which feature ground lamb and a final bake in the oven, this dish is ready once the potatoes are added. If you're making this, be sure to find a broiler-safe casserole dish. My dish was not, and I could not pop it beneath the broiler to brown the potatoes–which, by the way, are made with a generous slathering of butter and cream.

If you would like to follow the original recipe, click the link above, otherwise follow my adaptation below. Whatever you do, keep the technique of beurre manié close at hand for your next sauce or gravy.

"Almost Vegetarian Shepherd's Pie"

2 shallots, minced
3 tablespoon olive oil, divided
1/2 pounds ground beef (optional)
1 medium leek (white and pale green parts only), halved lengthwise, sliced 1/2 inch thick, and washed
4 garlic cloves, chopped finely
1 cup mushrooms, trimmed and quartered (I used a combination of shiitake and baby bellas)
3 medium carrots, cut into 3/4-inch-thick half-moon pieces
3 medium parsnips, cut into 3/4-inch-thick half-moon pieces
2 tablespoons thyme leaves
1 tablespoon chopped rosemary
3/4 bottle Cabernet Sauvignon
3 tablespoons salted butter, softened
3 tablespoons all-purpose flour
4 cups hot rabbit stock (you can substitute for the stock of your choice)

For Topping

3 pounds red potatoes
1/2 stick butter
1/2 cup skim milk
1/2 cup heavy cream

1. Prep all vegetables.
2. Brown ground beef. Transfer to a plate.
3. Add about 2 Tablespoon olive oil and cook leeks over medium heat until softened, about 6 minutes. Throw in a pinch of salt. Add garlic and cook, stirring often, until slight color appears. Add 1 Tablespoon of olive oil and add mushrooms, stirring, until golden, about 5 minutes.
4. Add carrots, parsnips, butternut squash, thyme and rosemary. Cook, covered, stirring occasionally until vegetables become tender, about 10 minutes. Transfer vegetables to a bowl.
5. Add wine to pot and boil until reduced to about 3/4 cup, 10 to 15 minutes.
6. While wine reduces, briskly beat together flower and butter in a small bowl until it forms a paste (beurre manié).
7. Add stock to wine reduction and bring to a brisk simmer. Whisk in beurre manié 1 Tablespoon at a time, whisking briskly to thoroughly incorporate with the liquid. Continue whisking until mixture thickens, 3 to 5 minutes. Add ground meat and vegetable mixture to pot and simmer, covered, 25-30 minutes.
8. While mixture simmers, peel potatoes and cut into 2-inch pieces. Cover potatoes with cold water and simmer, partially covered, until very tender, 20 to 25 minutes. When ready to mash, add 1/2 stick butter, cream and milk. If you have a food mill or hand mixer, mix until creamy; otherwise, just mash and beat until very smooth.
9. Put meat and vegetable mix in broiler-proof dish, top with potatoes, and heat 3 inches under broiler until potatoes are golden brown.

Bon appetit!

Sunday, September 18, 2011

Granola Girl

Jarred Diamond, author of Guns, Germs, and Steel, says that civilization advanced in the Middle East (to begin with) and spread because of cereal grasses. Catch the second episode in the series on Netflix for more information. He was specifically talking about wheat and barley, but I would like to pay homage to the another cereal grass: oat.

I've enjoyed eating oats since a child when Grandma Kiser would cook rolled oats for breakfast, laced with sugar and whole milk. MMMM. These days I prefer my oats as a topping for granola, and I must thank an unusual source for my new favorite breakfast food: McDonald's. Read closely because this will be the only time you'll ever hear me say a good word about McDonald's. While I understand they are not the cause of what is wrong in the food world, to me, they at least represent all that is wrong with food in the world: big agribusiness, CAFO's (Concentrated Animal Feeding Operations), government subsidies that make bad-for-you-food affordable and healthy fresh fruits and vegetables less so. I could go on, but I've promised myself I would rant less here.

Why do I credit McDonald's with my love of yogurt topped with granola? Like many people, I left the house one morning without breakfast and was starving, so I stopped at the golden arches looking for the least bad-for-me item on the menu. I saw yogurt, fruit and granola on the list and bought one. It was the last one I ever purchased, but I started making my own granola and topping it with frozen fruit. McDonald's had a good idea, but they put too much sugar in theirs, beginning with the flavored vanilla yogurt and continuing with sweetened berries. Plus, it was way too small.

Initially, I was buying granola from Day Spring, but even their granola seemed to have too much sugar in it for our liking. I searched through cookbooks and Epicurious.com to find a recipe. Now, granola is one of the few things I can make blind-folded because it's one of the few things I make over and over again.

1. Preheat your oven to about 4oo degrees, I make mine 410 because it seems to work better.

2. In a large bowl, I mix 4-1/2 cups of oats. I'm not sure if they're quick cooking or old fashioned because I buy them in bulk at Earth Fare. To this I add 1/4 cup flax seed and 1/4 cup wheat germ. Mix it up.

3. While your oven is heating up, get a small saucepan and add the following:
3 Tablespoons butter, 1/2 cup orange juice, 1/4 cup cane sugar (I had to use molasses for this batch as I was out of cane syrup), 1/4 cup raw local honey (just because it tastes better. I buy mine from Bee-Mac Apiaries on Waverly Parkway at the home of Mr. and Mrs. Ben McGehee), and 1 teaspoon vanilla flavoring. I used to use vanilla extract until I read that high temperatures evaporate too much of the goodness from real extract. Now I save the real thing for baking.

4. Thoroughly mix the liquid into the dry ingredients before spreading onto a baking sheet and top with your choice of nuts. For this batch, I used slivered almonds. Set your timer for 15 minutes and wait. When the timer goes off, stir the granola so that more of the mixture gets exposed to the heat. Set your timer for 5 minutes. You keep doing this last step until the granola is the texture and color you desire. For this amount, it took three repetitions of stir and wait.

Voila! Now you're ready to put the finished product in an air-tight container and enjoy yogurt and granola for the rest of the week.

I like to use Greek yogurt because it tastes richer and more satisfying to me. We top our yogurt and granola with organic blueberries or raspberries since berries are some of the most pesticide-laden fruit. We're using the last of the summer berries I picked at Randle Farms in Auburn.

Bon appetit!

Friday, September 16, 2011

Pomme d'amour

The tomato has a checkered past. Originating from the Andes region of South America, the tomato was thought to be poisonous when first brought to Europe and the New World by Spanish explorers. It wasn't until 1820 when American Col. Robert Gibbon sat eating the dreaded fruit (yes, fruit) on the courthouse steps in Salem, NJ, that the Americans and French alike abandoned this myth. Not to worry, though, a new myth soon took hold. The ever-romantic French decided the pomme d'amour, or love apple, was an aphrodisiac.

I've never really found the tomato to be an aphrodisiac, personally, but I do love tomatoes. Let me clarify: I love home-grown tomatoes–my tomatoes. What qualifies in the grocery store as a tomato is a sad impostor that looks right but tastes terribly wrong. Even organic tomatoes just don't taste like the lovely gems grown at home. If you're lucky enough to have a few of the season's last love apples, I have a dish for you–a dish I eagerly wait for each summer. I've made a few changes to the original recipe, and I experiment with different cheeses, but this is a wonderful way to use the last–or first–tomatoes of the season.

A dear friend of mine shared this recipe with me a few years back; it was a recipe given to her by her mother. You can keep this simple by buying a prepared pie crust, or you can make your own crust, which is really easier than you might think. I make a crust from Deborah Madison's Vegetarian Suppers that has wheat pastry flour, unbleached all-purpose flour, butter, and sour cream. I've tried other pastry recipes for savory tarts but none compare, as far as I'm concerned. So, without further delay, I give you

Liz's Tomato Tart

1 9-inch unbaked pastry shell
1/2 lb. Gruyere cheese, shredded
3 tomatoes, peeled, chopped, and drained
3 Tablespoons minced shallot
2 teaspoons fresh chopped basil
3 eggs
3/4 cup milk
2 Tablespoons grated Parmesan cheese
Salt, pepper to taste

Scatter Gruyere cheese over pastry shell. Spread a layer of tomatoes over cheese. Add shallot and basil. Season to taste with salt and pepper.

Beat eggs and milk together and pour over tomatoes. Sprinkle on Parmesan cheese. Bake at 350 degrees 45 minutes or until done.


Bon appetit!

Thursday, September 15, 2011

Summer Hibernation

A few people will notice that I've been away awhile. I wish I could say that I was busy driving along the winding roads of the Luberon in the South of France all summer (where this photo was taken a few years ago), but such is not the case. Chalk it up to apathy. My ambition fades like a flower when summer temperatures soar, burning the garden to a crisp and drying up any impulse to wander outside to take photos or lovingly tend the garden. My inspiration for writing withered like the plants in the garden.

As the temperatures cooled this past week or two, I began to toy with the idea of writing again but found myself uncharacteristically sick with a fever and hacking cough that lasted nearly a week (the week isn't up, yet I'm still hacking). But, like the garden, I've begun to produce again. We may yet squeeze out a few more tomatoes, an eggplant or two, and some poblano peppers. I'm ready to begin the fall garden and to re-begin my writing.

Since it's obvious I haven't been writing, what have I been doing? True to my obsession with food, I've been reading about food, watching The French Chef with Julia Child, cooking, and eating with friends and family. For fun, I read The Sharper Your Knife, the Less You Cry by Kathleen Flinn. Flinn talks about losing her job and then deciding to fulfill her dream of attending Le Cordon Bleu in France--not just attending, but earning a certificate and the title of chef from the famed cooking school. I loved revisiting Paris as I read her book, and I've tried a few of the recipes she's included. I believe I'm going to have to eat my way through each one as the first two were delicious!

Flinn inspired me to learn more about technique, so I ordered Professional Cooking by Wayne Gisslen, a culinary school text, and LaRousse Gastronomique, an evidently famous culinary encyclopedia. I'm into the fifth chapter of Gisslen's book; and I'm working through "A" entries in LaRousse.

Still hungering for more of food and France, I started reading My Life in France by Julia Child, who also attended Le Cordon Bleu in the forties. It was interesting to compare the experiences of Child and Flinn at the school, which began as a perk for subscribers of French cooking magazine, the name of which escapes me. By the time Flinn attended in the late 1990's, it seems the school had become much more prestigious. I'm still reading Child's book, which has prompted me to search eBay for Mastering the Art of French Cooking, Volumes 1 and 2, co-authored by Child. I'm watching a couple of auctions now, but each has exceeded my $10 self-imposed limit. I may have to make an exception for Julia!

There will be more about food, cooking, and gardening later. Until then, bon appetit!